

Here’s the thing: gorgeous photos aren’t just for looks. They play a huge role in how people find you online. When I first started my business, I’ll admit—I used to upload photos without even thinking about SEO. The problem? Huge files and unlabeled images slow down your site and make it harder for search engines (and potential clients) to notice you.
The good news is, with just a few simple tweaks, you can make your website photos both beautiful and beloved by Google.
Choose the Right File Type
Not all image files are created equal. Here are the three main types you’ll use for websites:
- JPEG (JPG): Best for photos. Smaller file size, still great quality.
- PNG: Best for graphics with transparent backgrounds (like logos).
- WebP: A newer format that combines small file sizes with high quality. Perfect if your website builder supports it.
Resize Before You Upload
Uploading giant images is one of the biggest mistakes I see. If your files are too big, your site will load slowly—and slow sites = bad SEO.
As a rule of thumb. make sure to keep images no wider than 2500px. For large hero images, I aim for around 1800px. For profile photos, blog graphics, or smaller design elements, go even smaller.
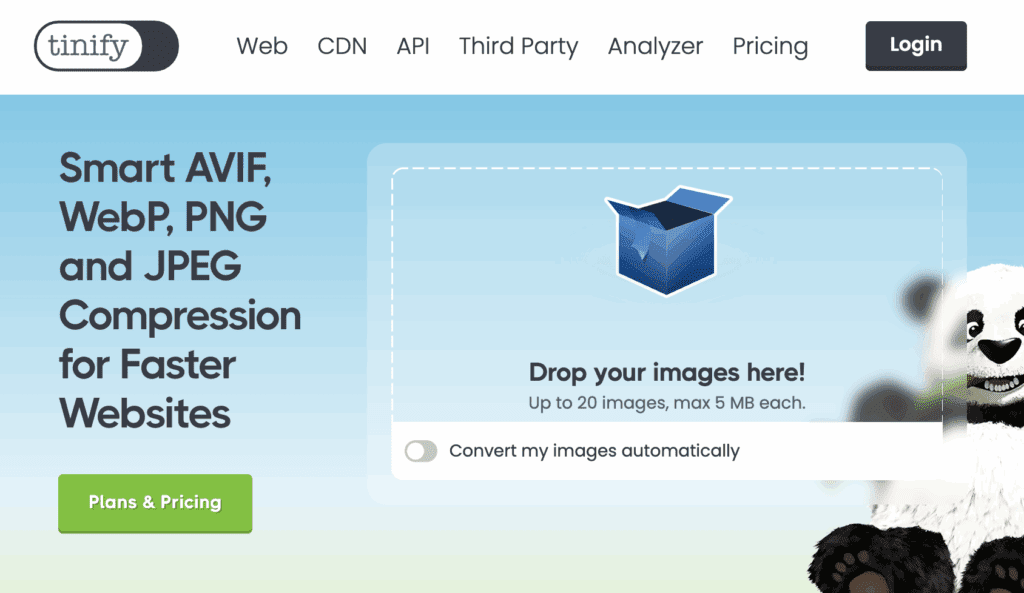
Compress Without Losing Quality
Even after resizing, images can still be heavy. That’s where compression tools come in. Programs like TinyPNG or Bulk Resize Photos shrink file sizes while keeping them crisp. I use them daily!
Name Your Files With SEO in Mind
This one is huge. Instead of uploading “IMG_1234.jpg,” rename your file to something descriptive and keyword-friendly, like: branding-website-design.jpg sapphire-creative-headshot.jpg
Pro tip: use dashes between words so Google can read them correctly. This little habit helps with SEO, Pinterest sharing, and accessibility tools.
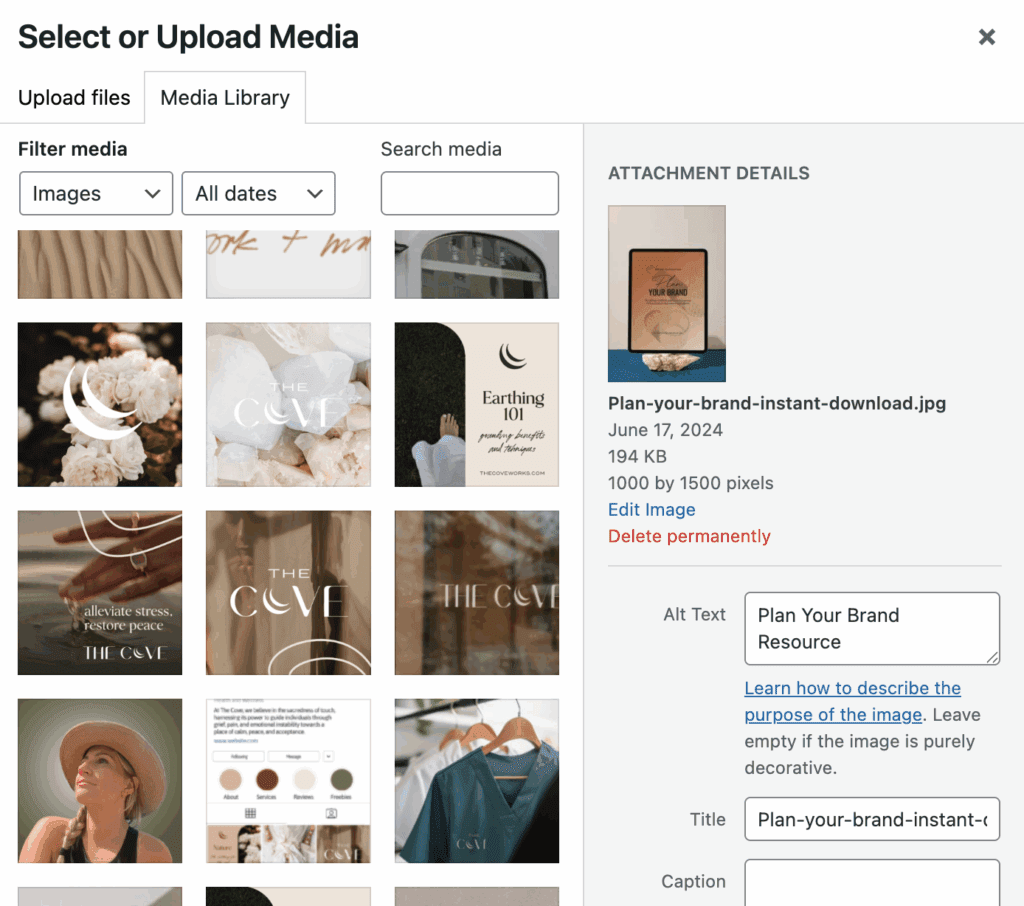
Don’t Forget Alt Text
Alt text is like a mini description of your photo. It tells Google (and screen readers) what’s in the image. It’s not the same as the file name. You’ll usually see a field for it when you upload a photo to your site.
Example: instead of “photo,” write “custom brand logo design for Sapphire Creative Co.”
Use Captions Where It Makes Sense
Captions can give your SEO a little boost if they naturally describe the photo or add context—especially in blog posts or portfolios. Just don’t overdo it, because too many captions can clutter your design.
Bonus: Use Helpful Plugins
If you’re using WordPress, plugins can help with image optimization behind the scenes. Two of my go-to’s are Yoast SEO and Smush Pro. They’re powerful on their own, but together they help keep your whole site optimized.
💎 Final Gem
Optimizing your website images doesn’t have to be complicated. In fact, it’s one of the easiest SEO steps you can take. Batch resize, rename, and compress your photos before uploading, and your site will be faster, more accessible, and easier for search engines to love.
So gather those images, give them a little TLC, and get ready to get noticed.
xo Joelle

Free 10-Minute Audit
The Brand Clarity Cut
A guided brand scorecard to uncover what’s working, what’s missing, and what to refine.
✨ Grab your free audit now and take the first step toward a brand that feels clear, cohesive, and confidently you.